Set up your Business Profile in Pinterest with 2 easy steps
Pinterest has introduced Business Page following other familiar Social Network sites like Facebook, Twitter, Google+ and LinkedIn
Though you will not be able to identify much of a difference between a Personal and a Business profile page, there are some important changes made in the Terms and Conditions for Personal and Business separately and also the way you can present your Business Details. For e.g. you do not have to mention your First name as ‘ABC’ and Last name as ‘Corporation’ anymore, instead you can specify your Business name itself as it is.
If you are either new to Pinterest or have an existing account, you can have a business profile page exclusively for your business. You can register as new or convert your Personal page to Business page. Alternatively, you can also create a new account if you do not wish to convert your Personal profile.
Please find the images below to guide you to set up your Business Pinterest Page. Note that the instructions are not to create a new account but to convert from Personal to Business Profile.
Step 1: As I am assuming you have Pinterest account already, please login to your Pinterest account and get ready to convert your Personal to Business Page. Firstly, go to Business Page section where you can convert.
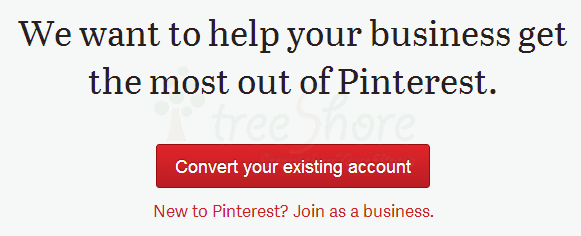
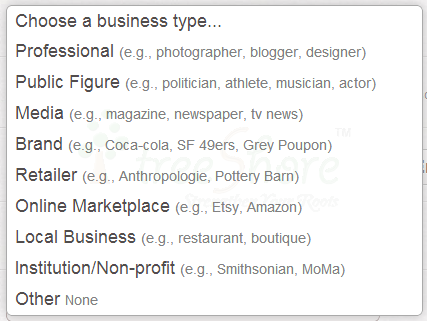
Step 2: Once you have clicked “Convert your existing account” button as shown in the previous image, it should take you to the page where you can update your profile more suitable to your business. Firstly, you will have to select the business type as shown in the image
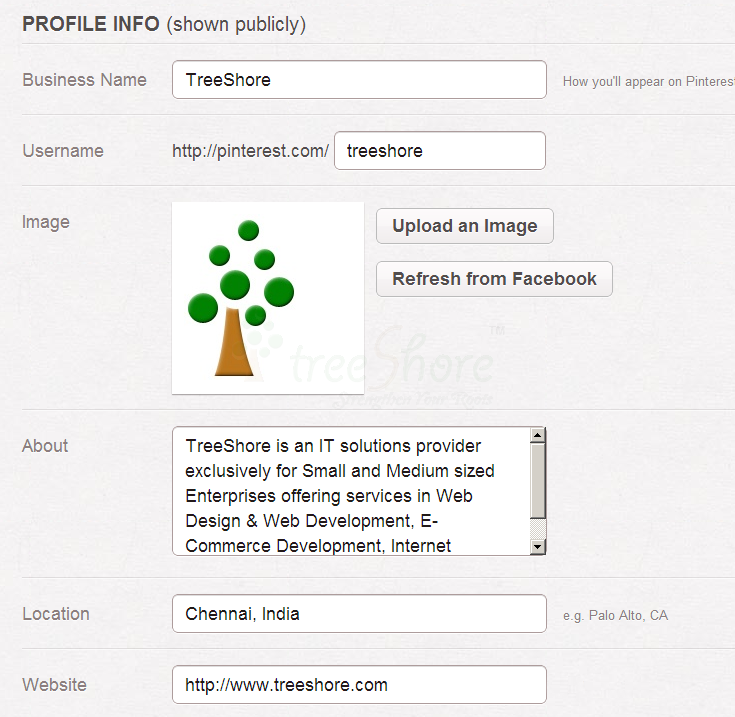
Secondly, update the profile details of the Business and once done agree to the Terms and Conditions and you would have your Business Page.
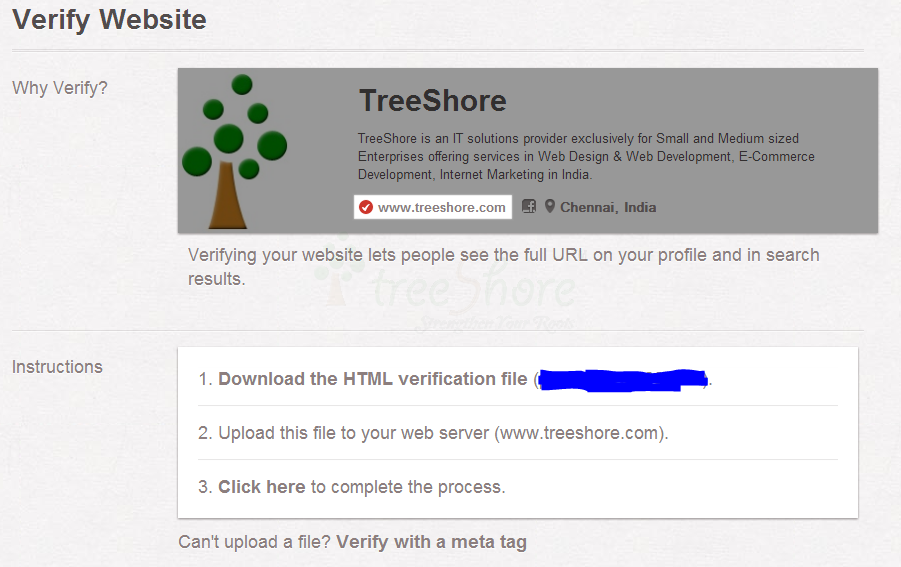
To further enhance your Page, it is strongly recommended to verify the website and you can get started using Pinterest.
By verifying the website, the users will be able to view your website URL in your profile. To do so, the instructions are:
Once you have your business account ready, you will be presented with 4 to-do options. The first of the 4 to-dos is to verify the account and the next 3 as given below.
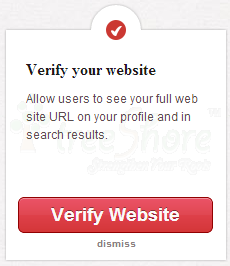
Once you have clicked the ‘Verify Website’ button, you will be taken to the next step where there will be 2 options to verify. You can either upload an HTML file or verify by adding a Meta tag as per the instructions given.
Finally, get started by following the last 3 to-dos
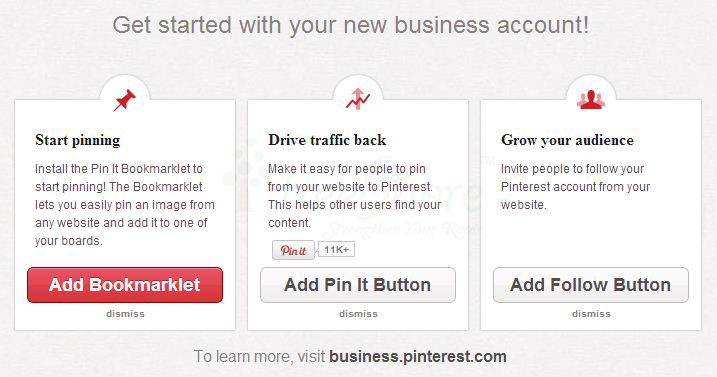
Start Pinning is to bookmark “Pin it” button to your browser so that you can pin images from a website to your Pinterest account.
Drive traffic back is to allow your website visitors to share your images with their Pinterest followers.
Grow your audience is to allow your website users to follow you on Pinterest.
